January 24, 2014

Photo Friday


Good Morning,
Today I am going to share with you my favorite photo of the week.
I have been working on refinishing this makeup desk for awhile.
I started at the end of summer and it seemed like every time
I tried to get it outside to paint it the weather wasn't cooperating.
But last weekend it did and I got a couple of coats of
paint on it.
 
I wanted it to be shiny and I have looked at a lot of paints to find the right one.
This is the paint I used and boy the pictures just don't show the shine like it should.


I hope I can get another coat and then start adding the knobs and then painting the inside.
I will post the finished pictures as soon as I can.
Have a great weekend, stay warm and don't forget you still have time
to join our challenge this week.
Stop by Susan's blog and take a look at the cute layout she has to share with you.
Till next week !!!
Photobucket

January 22, 2014

What's up Wednesday ???

Well, this week along with all the other projects I have going on,
my daughter asked me to make her a Wedding album for a friend
that is getting married this weekend.
 
So, since I can't tell her no, I have been burning the midnight oil trying to
get it ready for her.
 
It is coming together easy so I wanted to share with you
a page I have completed and maybe give you a few ideas to ponder
on your next mini album.
 
Here is the page.
 
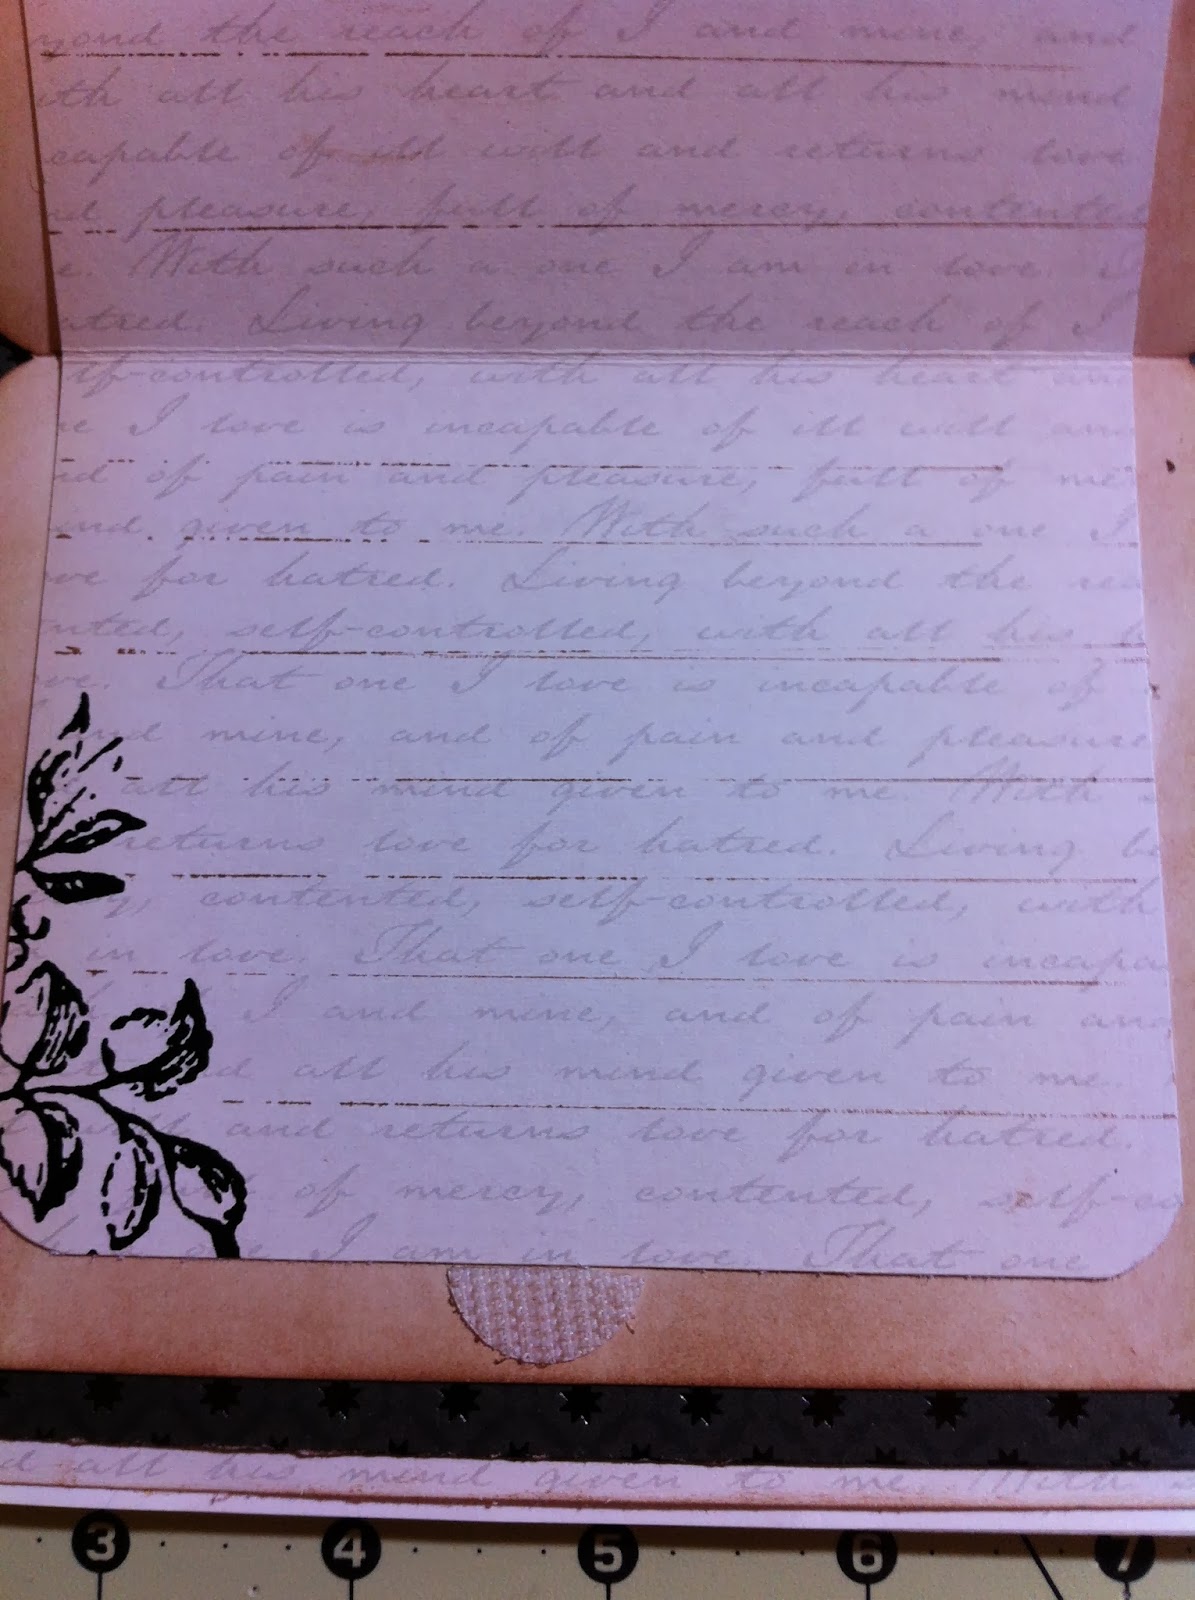
The piece with the "C" on it is actually a card that I picked up at the craft store.
It is mounted on a black piece of paper that is a pocket and will hold a few tags.
I wanted to let the card open for either a small picture or random thought about the day.

 
The card stock  I used to line the inside of the card has words on it but I wanted to
put some lines on the paper .
So, here is the cool idea !!
 
I took my ruler and ran it through my ink pad and then ran it across the paper.
It didn't make full, thick, black lines but enough to help you keep straight on the paper.
Not everyone can write in a straight line..LOL


Not a really great picture but you can see them.
Next time you need to make some lines give this technique a try.
Thanks for stopping by and don't forget we still have our challenge
going on this week over at Susan's blog.
 
We want you to use wood veneers.
 
Also, I'm sure she has something great to share with you today also.
See ya Friday !!!
 
Photobucket

January 20, 2014

Make Something Monday # 3

Welcome to another Monday.
Last week we wanted you to show us your embossing.
Thanks to Francesca over at Scrapbooking Peanuts for joining us with these awesome cards.


Now this week we are asking you to show us some projects using wood veneers.
It can be a card or a layout.
 
 
For my project I created a Thank You card.

 
I started with a black card 5 x 7. I pulled out some tags and started stitch lines.
Bakers twine comes in a lot of different colors so I tied some on.
The took these cute little veneer butterflies and colored them with my Copic Markers.
Stamped the sentiment to finish it off.
Thanks for stopping by and don't forget to head over to Susan's blog
and see all the official rules and to link up your project.


Photobucket

January 17, 2014

Photo Friday

 
Good Friday Morning everyone !!
This week I was reflecting on a few things that I take for
granted in my life. Well, thats kind of harsh, more like
I don't stop and appreciate them as much as I should.
Every morning this is my looking back towards my house from the road.
Of course I am usually in a hurry to get to work.


And if you look really close you will see this little fellow standing at the fence.


So, this past week I decided to start noticing and realized that yes
he is at the fence every morning telling me to have a good day.
So now, I stop, roll the window down and tell him Good Morning.
 
Have a great day !!
And don't forget to stop and say Hello !!
 Now, skip on over and see what Susan's Splash photo !!
We still have our challenge for embossing going on till Sunday.
You can find that here !!
 
Photobucket

January 15, 2014

What's up Wednesday- On my craft table

Well, it's Wednesday and that means I am going to share
with you what is on my craft table.
 
I am working on a baby album for a friend.
 
So with that on my mind this
 weekend I had an idea in the shower.....
 
Yep came to me between the wash and rinse cycle !! LOL
I could not wait to get out of the shower and write it down so I wouldn't forget.
 
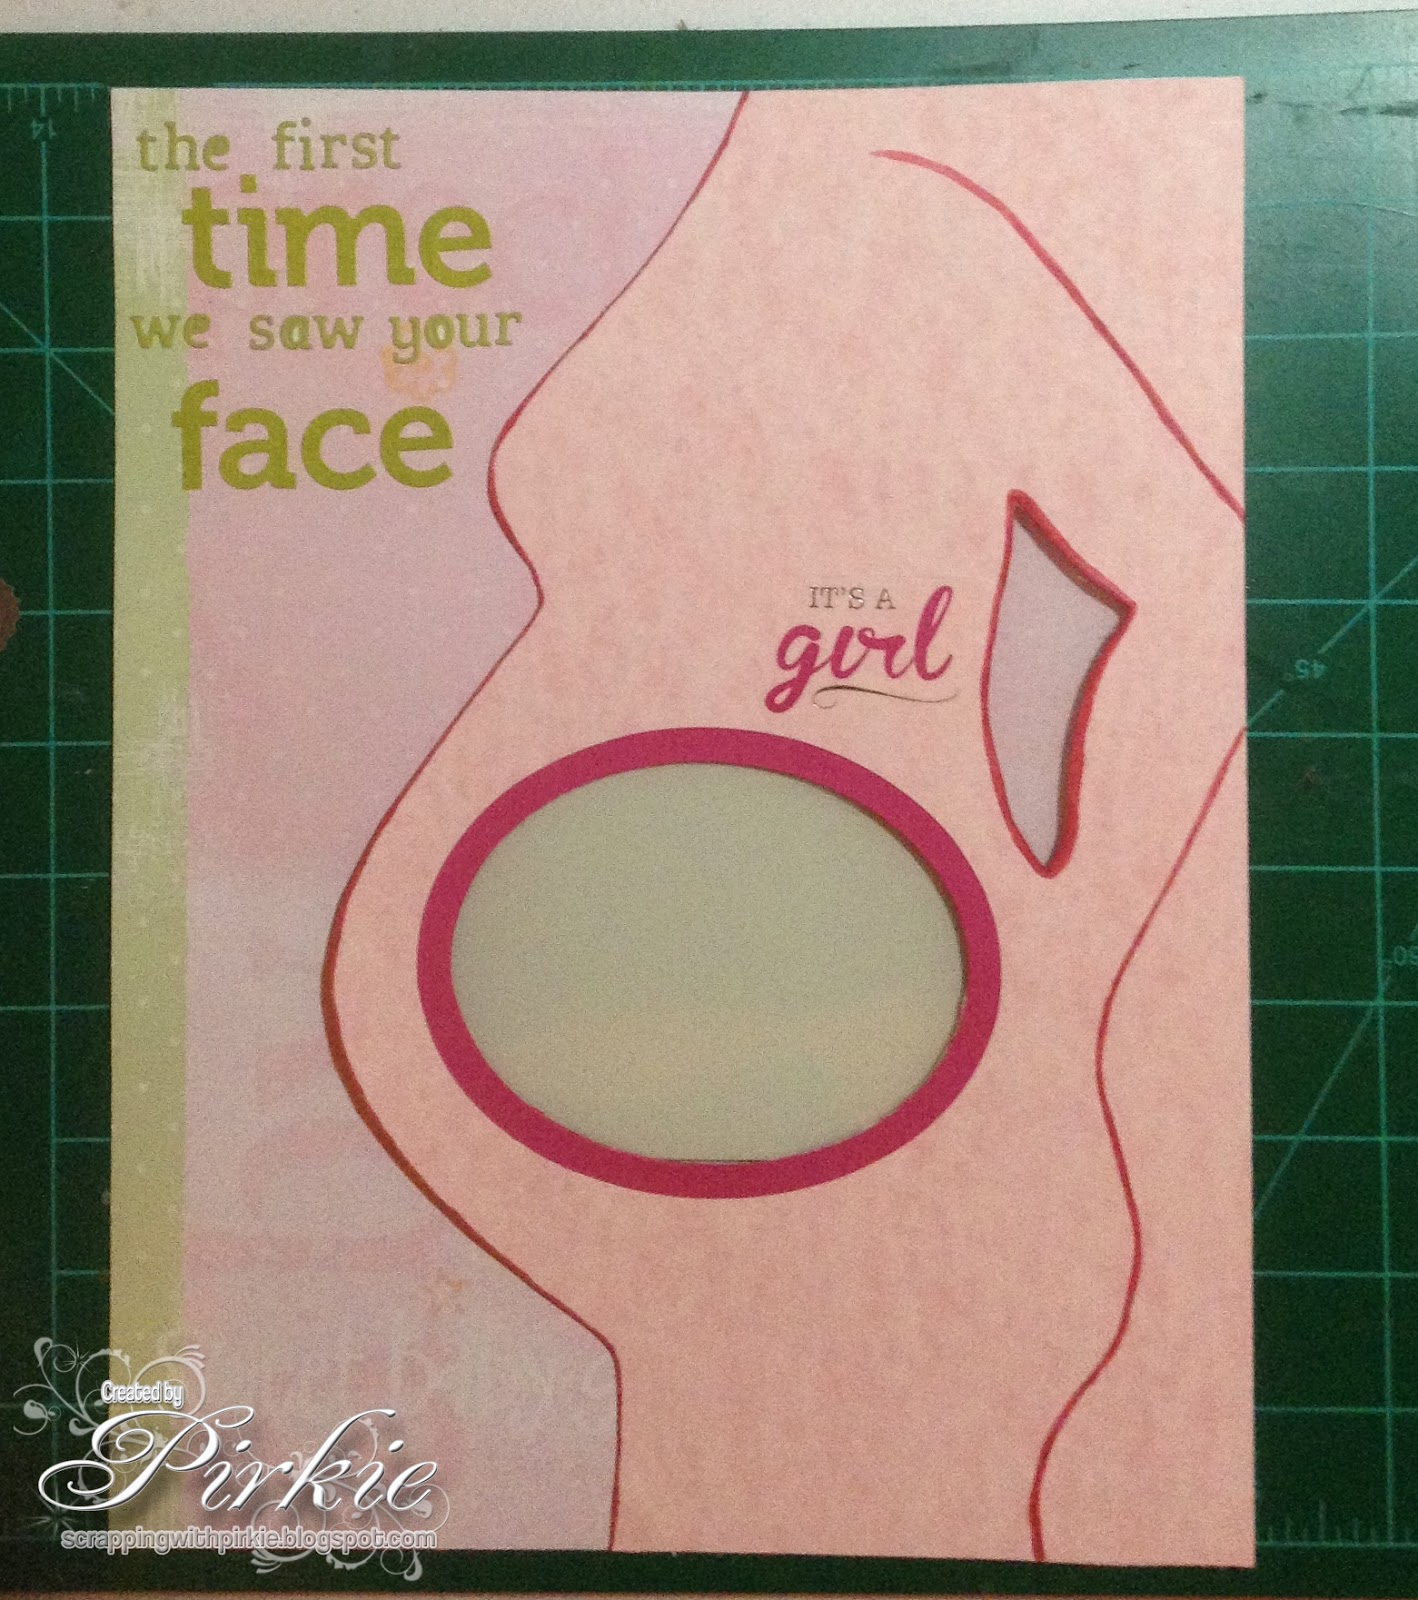
Then it was off to search the internet to see if I could find a silhouette of a pregnant woman.
I found this one.
Please forgive me for not knowing where I got it
but If I can find it again I will post the link later.


I cut the image out on some thick paper and cut a hole in the middle so
I could mount a photo mat behind it.


My idea was not to cut the right side of the image out and to leave a
1/2" flat to attach it to my background paper and turn it into
a flap that will open to access the picture behind.
Here is how it turned out.


This is the page opened. I used a small piece of velcro as my closure,
a small magnet would also work.


I love how it turned out !!!
And all from a little spark of an idea in the shower.
Thanks for stopping by and don't forget we have a challenge this week
over at Susan's blog and I'm sure she has something
awesome to share with you today.

See ya back here on Friday !!


Photobucket

January 13, 2014

Make Something Monday # 2


Good Morning!!!
Well, since this is only our second week of Challenges we are not
discouraged because we only had one join with us last week.
We will just keep trying !!!!
 
This week we want you to
USE EMBOSSING ON YOUR PROJECT !!
 
It can be a card, layout or any other project your working on.
The embossing can be wet or dry.
The full details are over at "Where life meets Art"
with Susan.
 
So to give you some inspiration I have created a Birthday card
with both dry and wet embossing.


I started by cutting a piece of white paper at 4 x 5 1/4.
Then I got out some scrap of colored card stock and started cutting them
into strips. Strips were cut at 1/2" and 1"
I used adhesive and mounted them to the white mat.
 

I used a flower stamp and some light purple embossing powder right on the top of
the colored strips.
I liked how it turned out, but then I had another idea.
 
 
I ran it through my BigKick with a swiss dot embossing folder.
Cute, Cute, Cute !!!
 
 
 The sentiment is stamped on a bright yellow piece of card stock matted with white.
 Topped it all off with some sequins bling !!!
 
Thanks for stopping by and don't forget to go over to
 Susan's blog and add your creation and see what she has created for this challenge.
See you there !!
 
 
Photobucket
 

January 10, 2014

Picture of the Week !!!

 
Oh ya, Friday !!!
For me it has been a crazy week at work so I am so looking forward to the
weekend.
But, before we kick off the weekend, I want to share with you
my pictures of the week.
Since I do not have kids at home, I really thought this was going to be
a hard challenge for me to live up to.
I thought.... "I don't take that many pictures during the week."
Then I was looking for what I wanted to post and realized I had
not one but TWO pictures I wanted to share.
 
This first picture is my dog, Paris.
I can almost hear her saying
"Does this pose make my butt look FAT?"
LOL !!!
She is my heart !!!

Then my second picture is a new baby horse that was
born on Sunday morning.

Look at that little tail!!
We will be calling him "Daddy Pink"
For two reasons
1) He is a boy
2) The inside of his nose and mouth are the prettiest pink we have ever seen!!
 
Thanks for spending the week with me and don't forget
to check out my friend Susan's blog..
Where Life Meets Art


Photobucket